I am Aram K, a distinguished professional with over 15 years of experience in the entertainment industry. I am honored to hold the esteemed title of being rated as the top San Diego fashion photographer by Peerspace and Giggster. My multifaceted expertise encompasses fashion and portrait photography, cinematography, and DI film color grading. Through collaborations with prestigious clients such as Pirelli and Vanity Fair, I have made significant contributions to platforms like Amazon Prime, Netflix, Nickelodeon, and HBO. My commitment lies in capturing the essence of my subjects and crafting visually impactful narratives.
Commercial Photographer
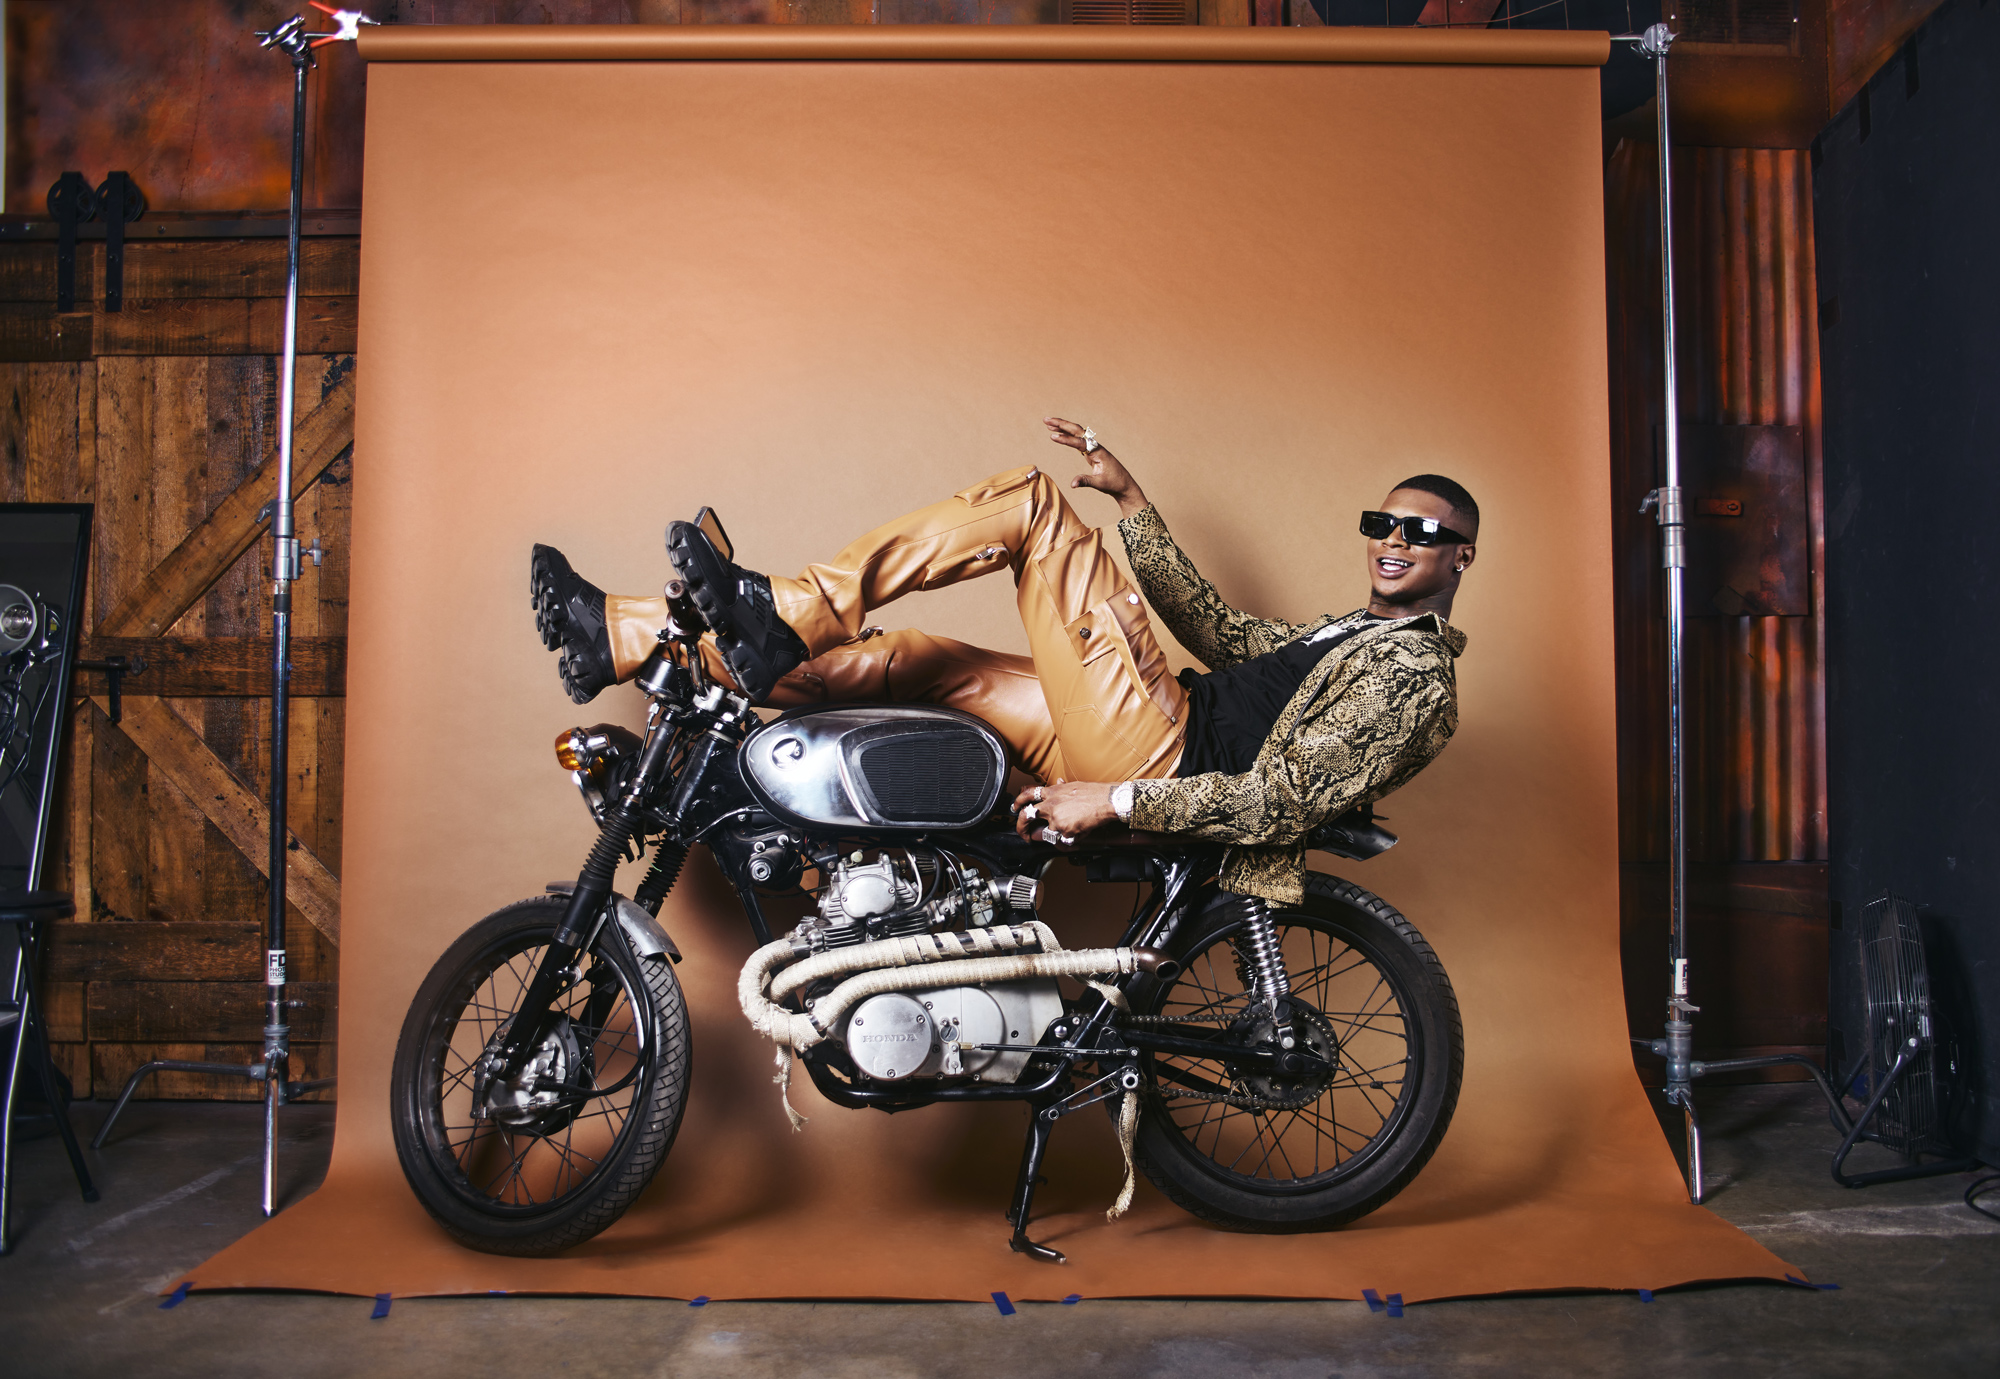
As a skilled commercial photographer, I bring a wealth of experience to all my projects. Whether I’m crafting images for advertising campaigns or creating high-end photography for prestigious brands, I am dedicated to perfection in every aspect. My specialization lies in the production elements crucial for the success of your project, ensuring the delivery of top-notch assets that meet your exacting standards.
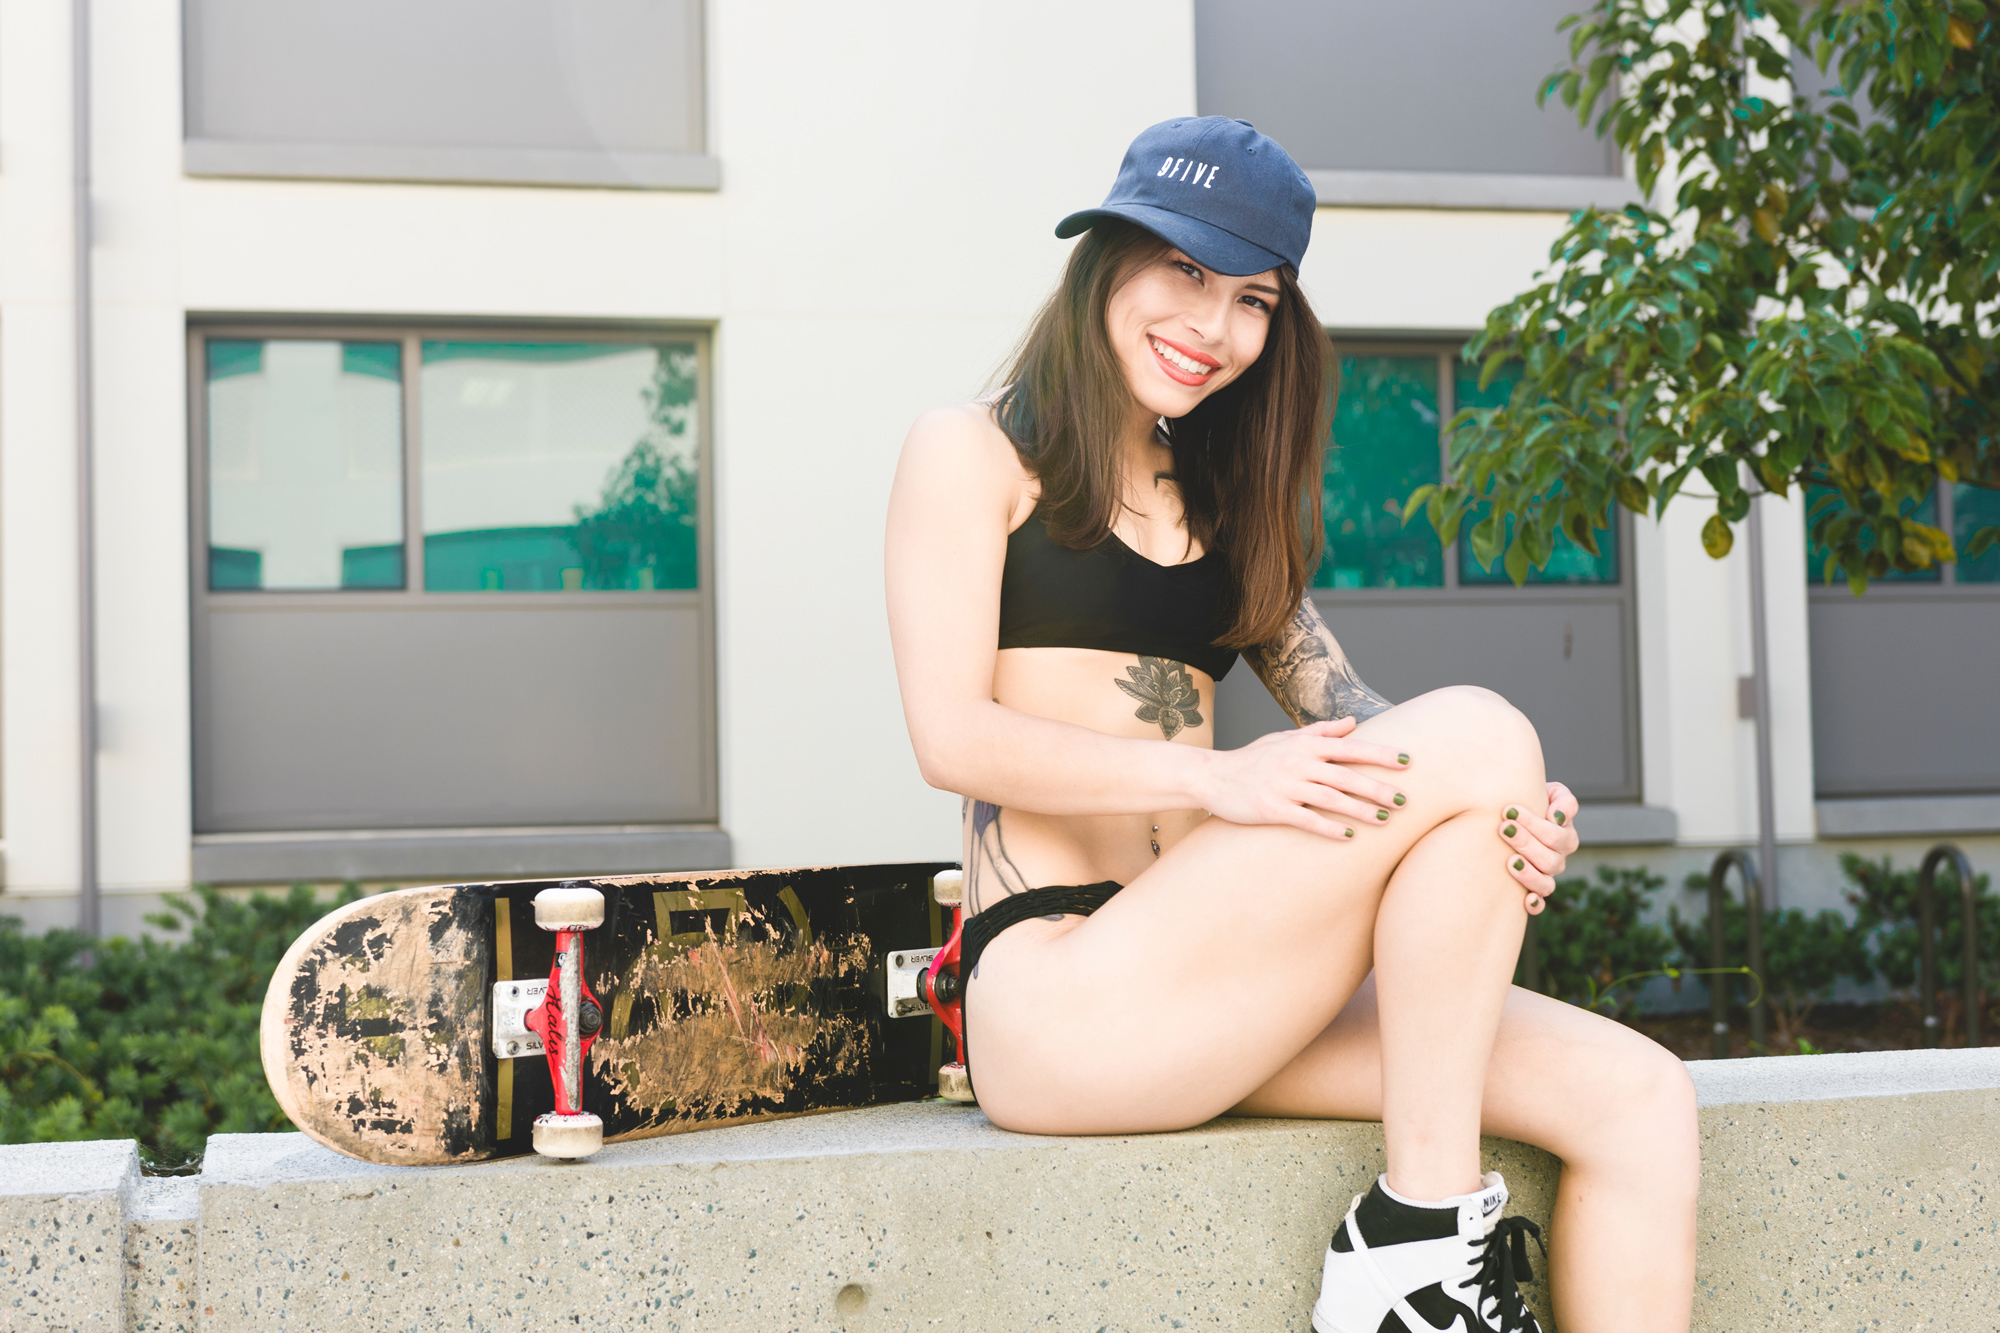
From the beginning of my career, I have harbored an enduring passion for the enchantment of fashion photography. Whether I’m working in New York or Los Angeles, I excel in crafting imaginative fashion concepts, showcasing impeccably designed products, and curating talent flawlessly. Fashion photography enables me to breathe life into garments and narrate a captivating story behind each collection. My approach to this genre is marked by inventiveness, forward-looking vision, and a steadfast commitment to a luxurious aesthetic.
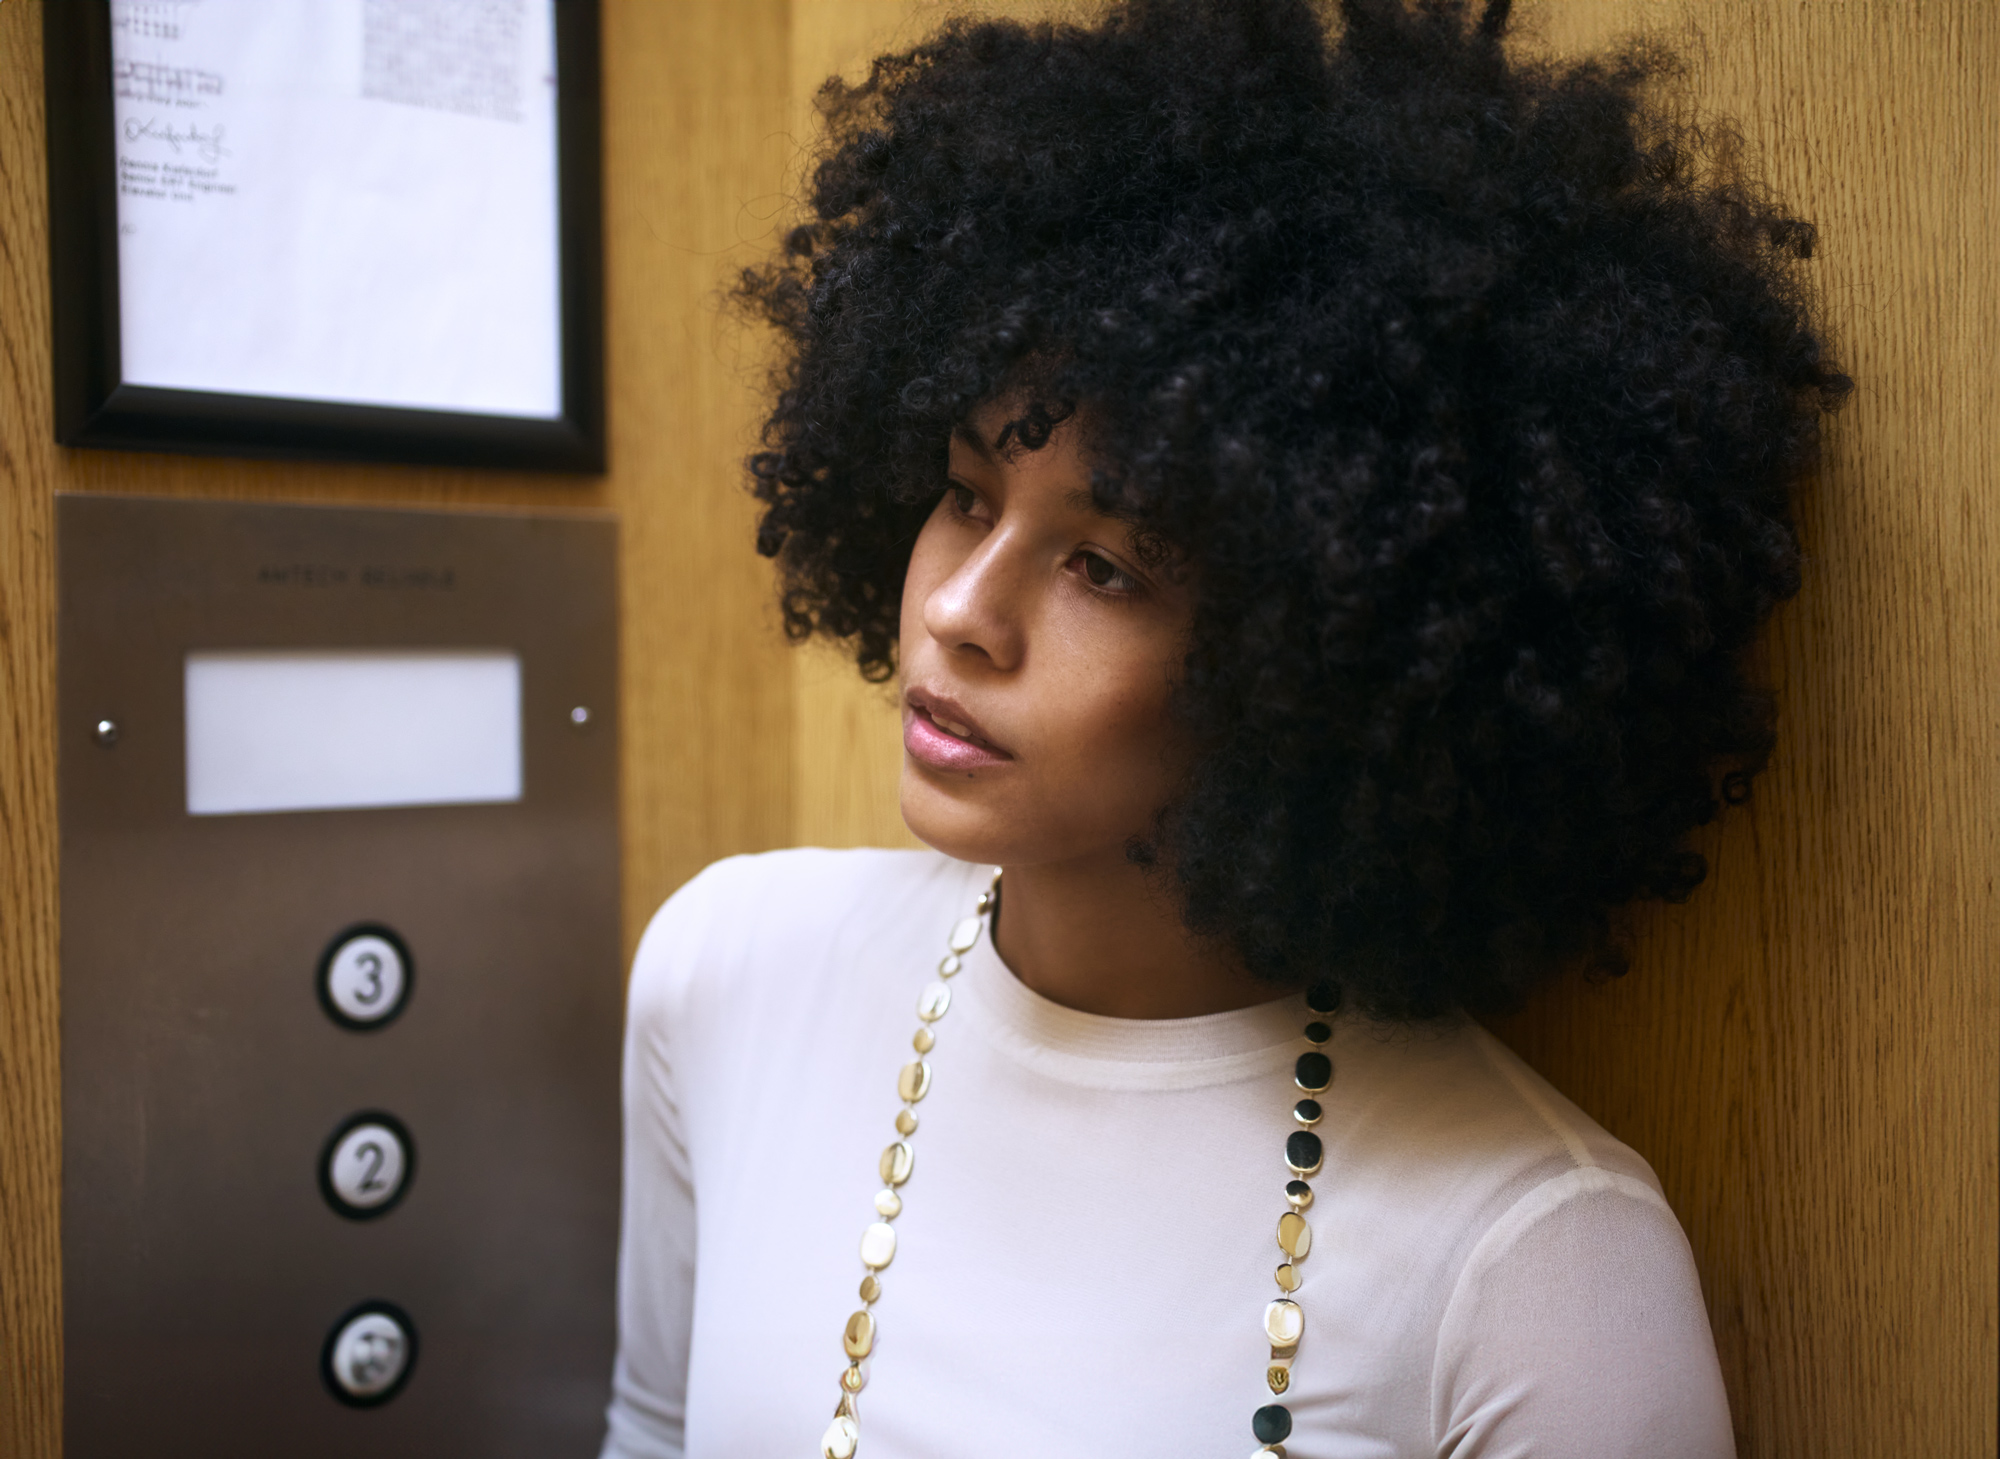
In addition to portrait photography, I specialize in headshot photography for actors, professionals, and individuals seeking to enhance their personal and business image. I have helped hundreds of clients achieve success by capturing compelling headshots, including business and corporate portraits, that elevate their appearance and contribute to their career goals.
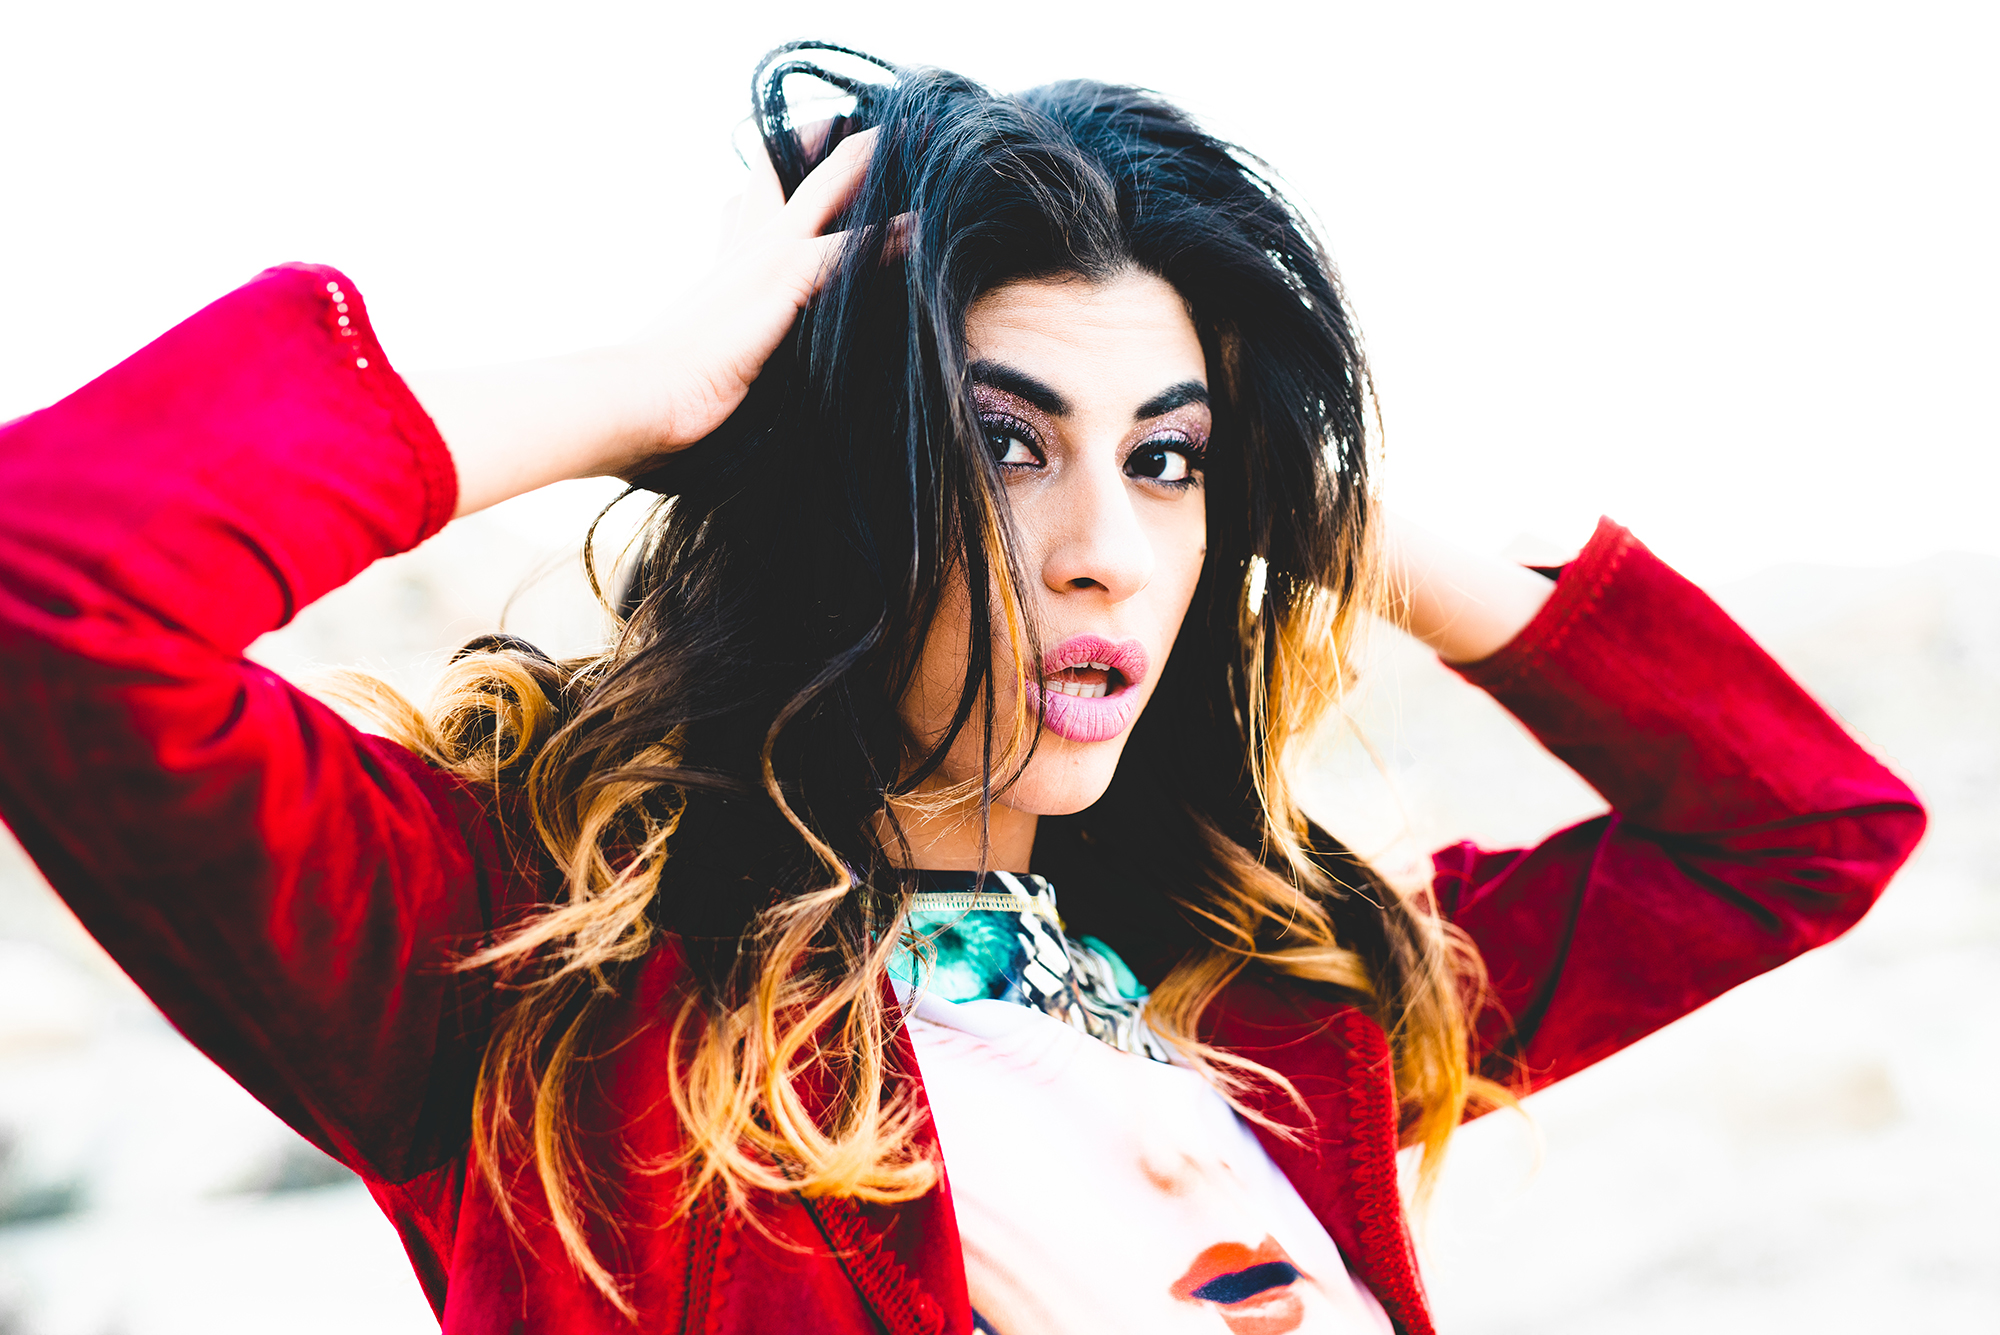
Portrait Photographer
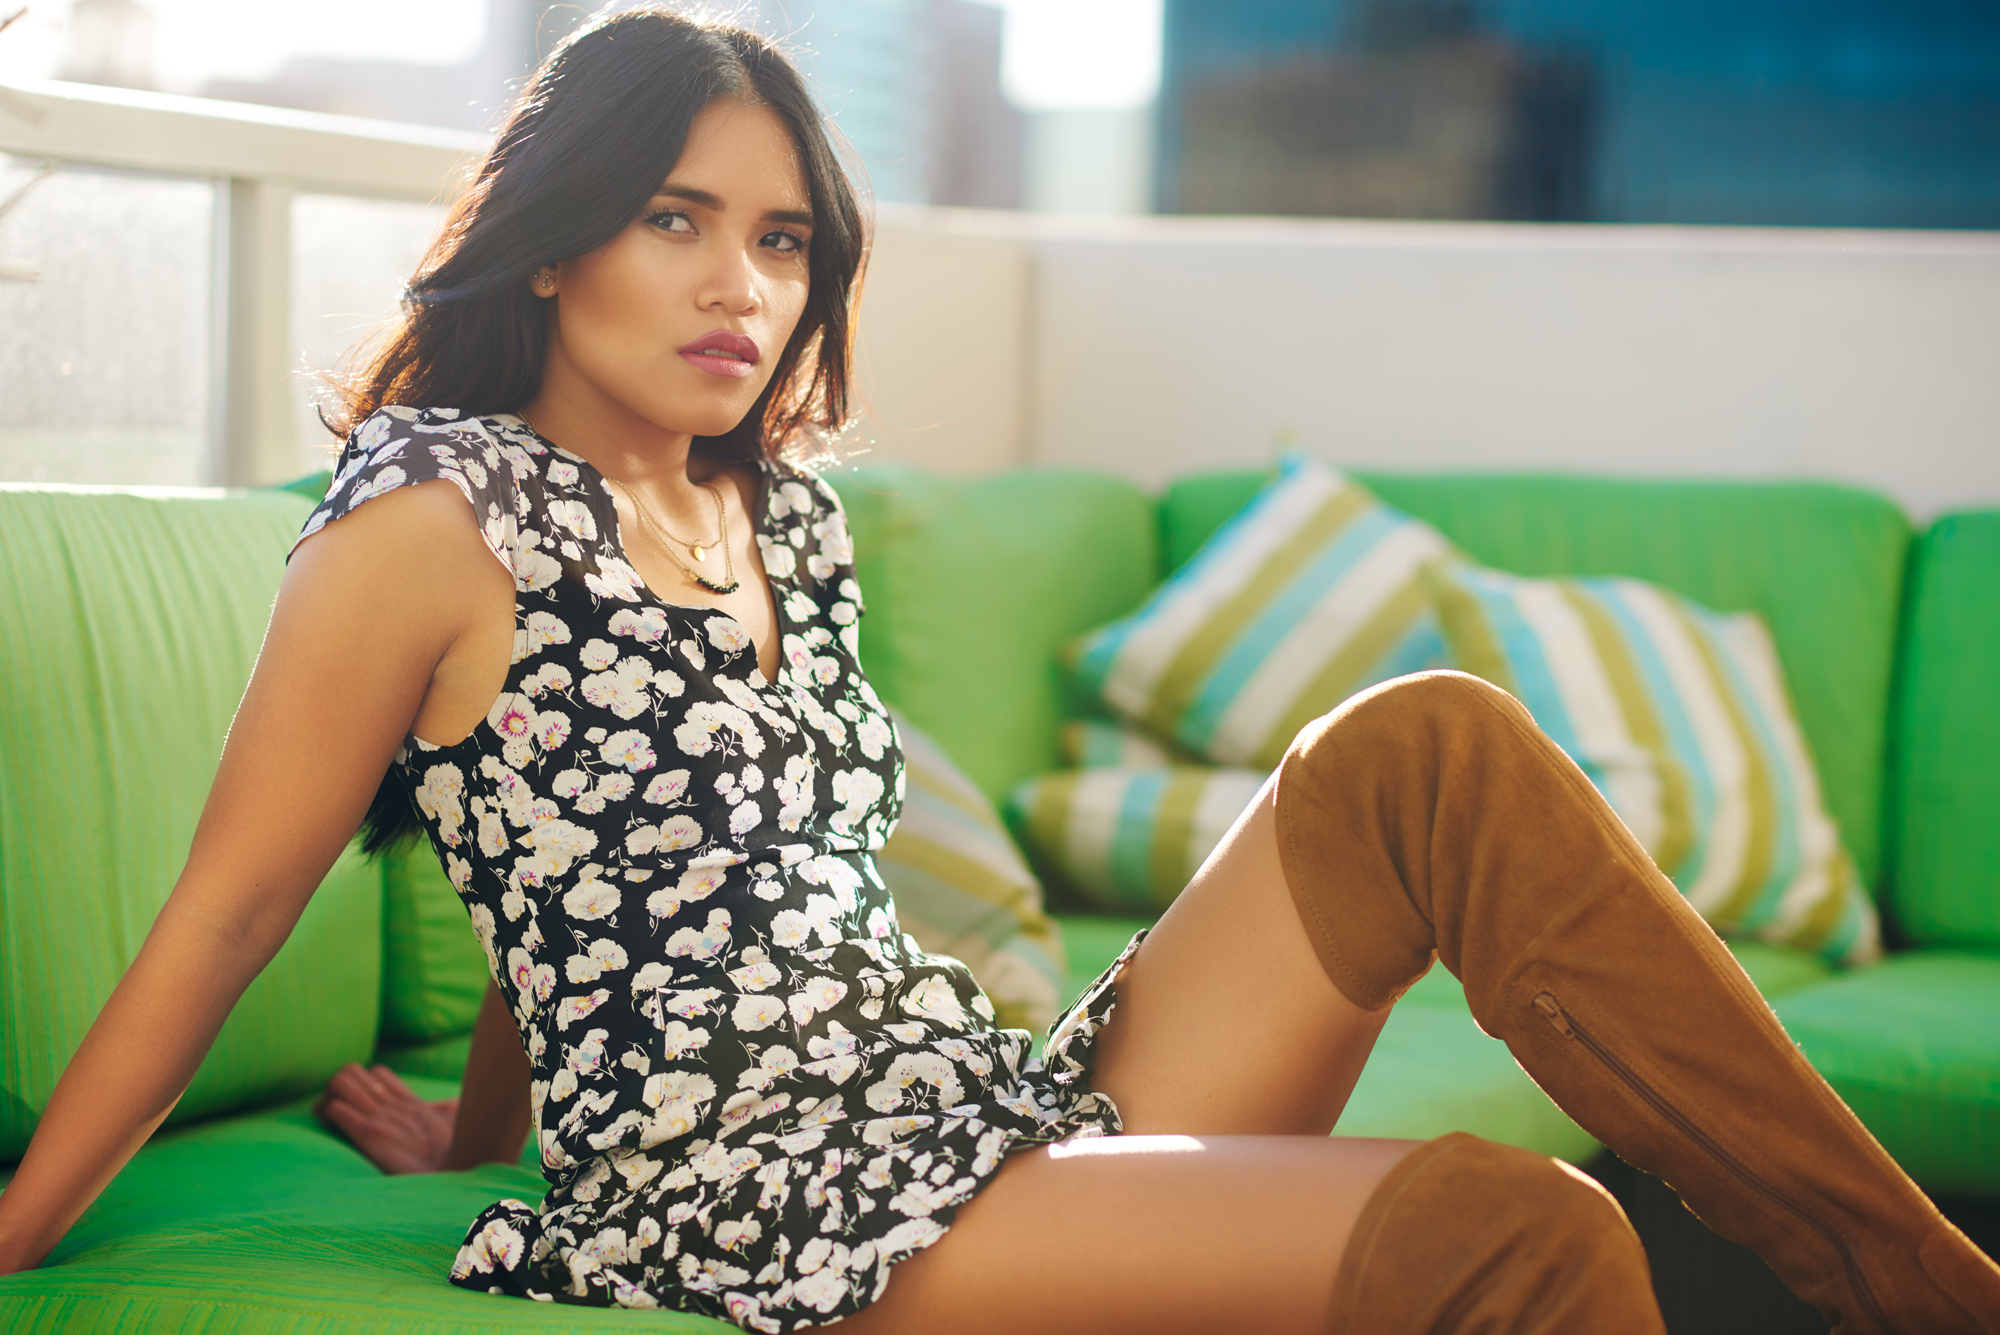
I specialize in capturing high-end portraits that showcase the unique personality and essence of each individual. Whether it’s for personal, professional, or artistic purposes, I strive to create visually stunning portraits that leave a lasting impact. My expertise in shooting high-end portraits ensures that clients receive exceptional quality images that meet their exacting standards.
Cinematographer
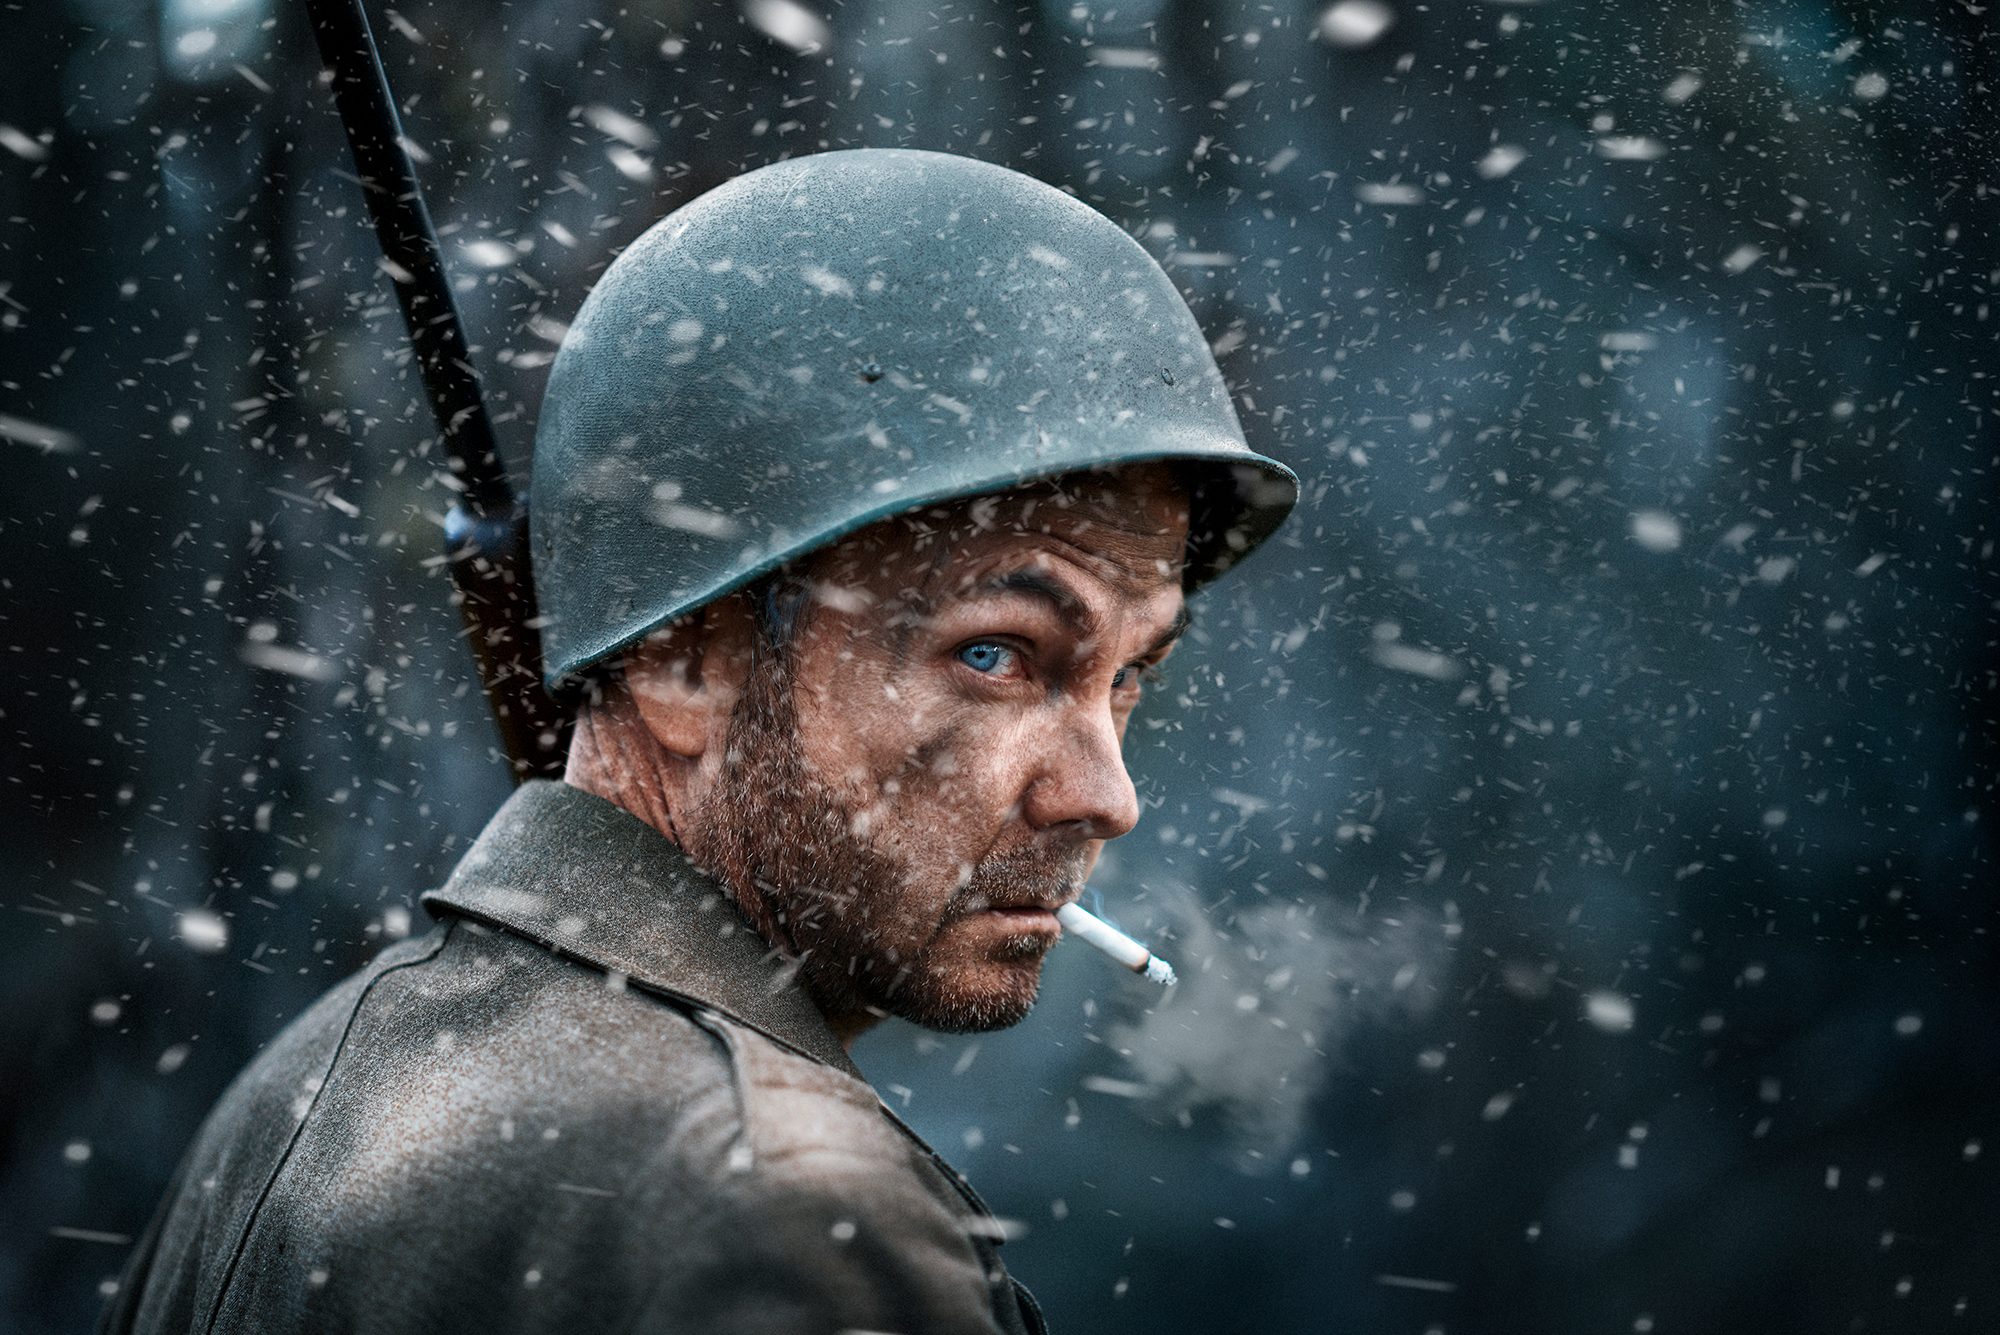
With extensive experience in film and videography, I have worked on a wide range of projects including music videos, documentaries, short and feature films, commercials, and corporate videos. Through years of practice, I have honed my skills in both pre and post-production, enabling me to bring a clear vision to life while directing and shooting any project effectively.
Continuing in the realm of filmmaking, I prioritize maintaining complete creative control over my work. With 15 years of experience, I have become a master in video color grading, showcasing my work on various streaming platforms like HBO, Netflix, Amazon, and others. My skills include SDR and HDR Dolby Vision color grading techniques. Additionally, I have conducted numerous classes and offer personalized one-on-one sessions for teaching color grading.